Hi All,
Long time job that needed doing was the rear gear box seal, last night was the time.
It is a splined shaft with a flange bolted to the drive shaft sealed with a spring backed lip seal in the gearbox.
This is normally done with the engine gearbox out of the car BUT with the right tools is possible in situ.
So out with the toy boxes and up on to the jack stands.
This is where we want to get.
It has been suggested that you can just lift the shaft up at the front but I had to remove it completely. (After chiselling some witness marks.)
This is the flange, talking about right tools this is where you need one.
Need a big impact gun to bust the 1-5/16" nut off, its 150 ft/lbs torque.
By hand is a pain, no access and you can turn the engine with an impact rattle rattle and its undone.
Flange off.
Not to bad, a visible groove but nothing I could feel.
As this part is one of the few not available I was planning to sleeve it and had a SKF Speedi-Sleeve standing by.
Hmm, damn !
I had taken a chance on the size from some dimensions off MGE but they were for an overdrive.
I got 1.685-1.691" but the actual size is 1.561-1.567".
Anyway 5 minutes with some 800 wet and dry and came up okay.
This is the seal it self.
Once it was out the lip is gone and the seal generally FTFF.
But getting the seal out is another "problem".
It has been recommended to use a proper seal hook but the seal was in so firm the metal shield broke.
This is were having the right tool for the job came in again.
I know that these seals can be a pain so I had got my self a toy I wanted for a long time a slide hammer. (This is now my new favourite tool.)
Put the screw attachment in the end, drive a screw into the seal, bash bash and straight out !
Farily straight forward now, fit the new seal with a smear of RTV, oil the flange sealing area, pop it back in.
Torque it up, bent the tab locker and refit the drive shaft front.
And rear end.
Re-connect the handbrake, re-fill with oil (including some PTF on the threads this time).
Job done, hope this stops the leaks.
Cheers,
Richard B.
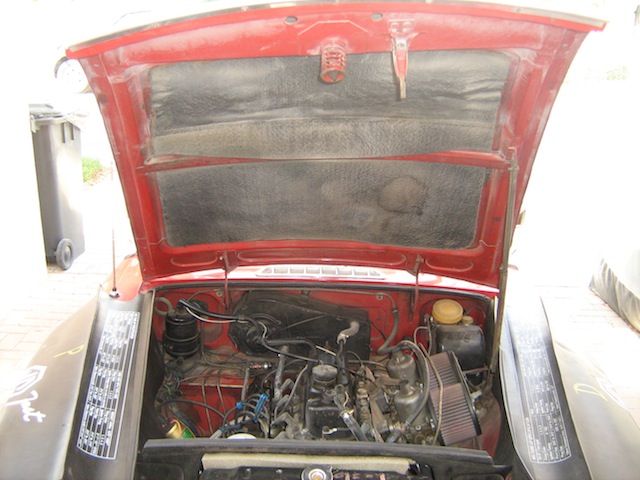
Next . . . . . . . Bonnet heat shield, with my Dad :-)